


With this update FGunZ refined and added some new map features that can make the maps a bit more interactive and less static.
These features you have seen in a previous iteration on the custom Minecraft map.
All of these effects are done as prefixes added to the materials in the maps xml file, they dont require any kind of special texture or model property and thus can retroactively be added to any map if desired.
They are as follows;
- applying an element to the player/map hazards
- moving the player in a direction
- forcing the player to jump/pushing the player up
- changing the players movement speed
Depending on your creativity you can use these function/features to create various scenarios and situations on your map.
The exhibition map i created for these features and update is showcasing some usecase examples i have come up myself but im sure other people might think of other or better things.
Ill begin the explanation in the order of appearance on the exhibition map.
Applying an element to the player / map hazards:
The prefix to create them is "felement_#_#_#_#_" followed by your regular material name.
The first # is the element type ranging from 1 fire, 2 cold, 3 lightning and 4 poison.
The second # is the height of this effect, creating an area above the surface in which the player is affected by it.
The third # is the intensity/damage per second. *cold doesnt deal damage but a slow effect instead like the weapon element.
And the last # is the duration of the effect in milliseconds.
For example a material with the prefix can look like this "felement_4_50_100_200_materialname", this creates an area 50 units tall that slowly applies poison damage to the player.
On the exhibition maps beginning/start you all probably dashed, ran and jumped right over the cracked holes in the floor but those pitfalls were filled with poison damage, a green smoke effect for visual and the floor triggering poison damage upon touching it and looks like this:
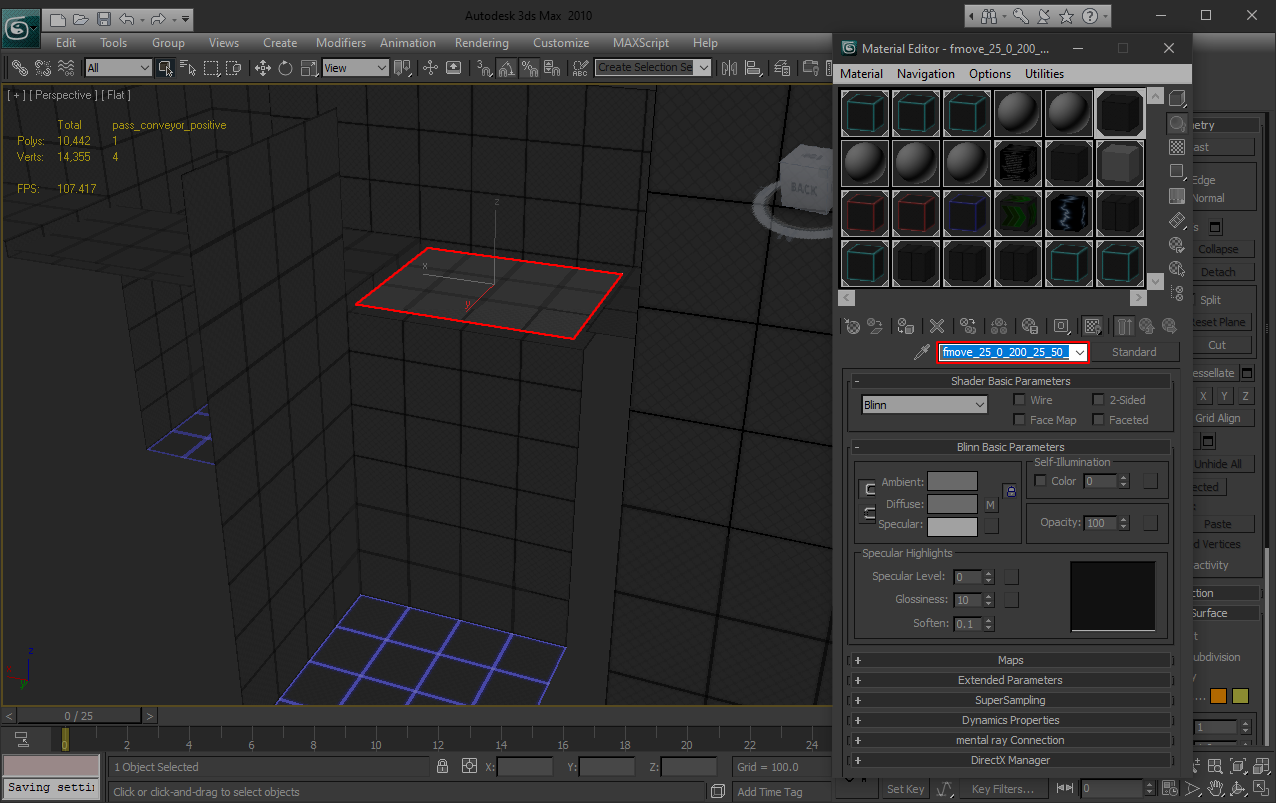
Moving the player in a direction:
The prefix for this effect is "fmove_#_#_#_#_#_" followed by your regular material name.
The first # is for height, creating an area above the surface in which the player is affected by it.
The second # is strength of X axis movement (positive and negative values).
The third # is strength of Y axis movement (positive and negative values).
The fourth # is friction/stopping speed (positive and negative values from 0 (no friction) to 100 (default)).
The fifth # is acceleration speed (positive and negative values from 0 (no acceleration) to 100 (default)).
Negative values for friction and acceleration are possible and result in inverted controls.
For example a material with the prefix can look like this "fmove_25_0_200_25_50_materialname", this create an area 25 units tall in reach that relatively slowely moves/forces the player to move positively on the Y axis.
On the exhibition map i hide planes with this material effect applied with an animated conveyor belt (not required but sells the illusion better) to try and push players into the pits (that have cold element floors for fun) and looks like this:
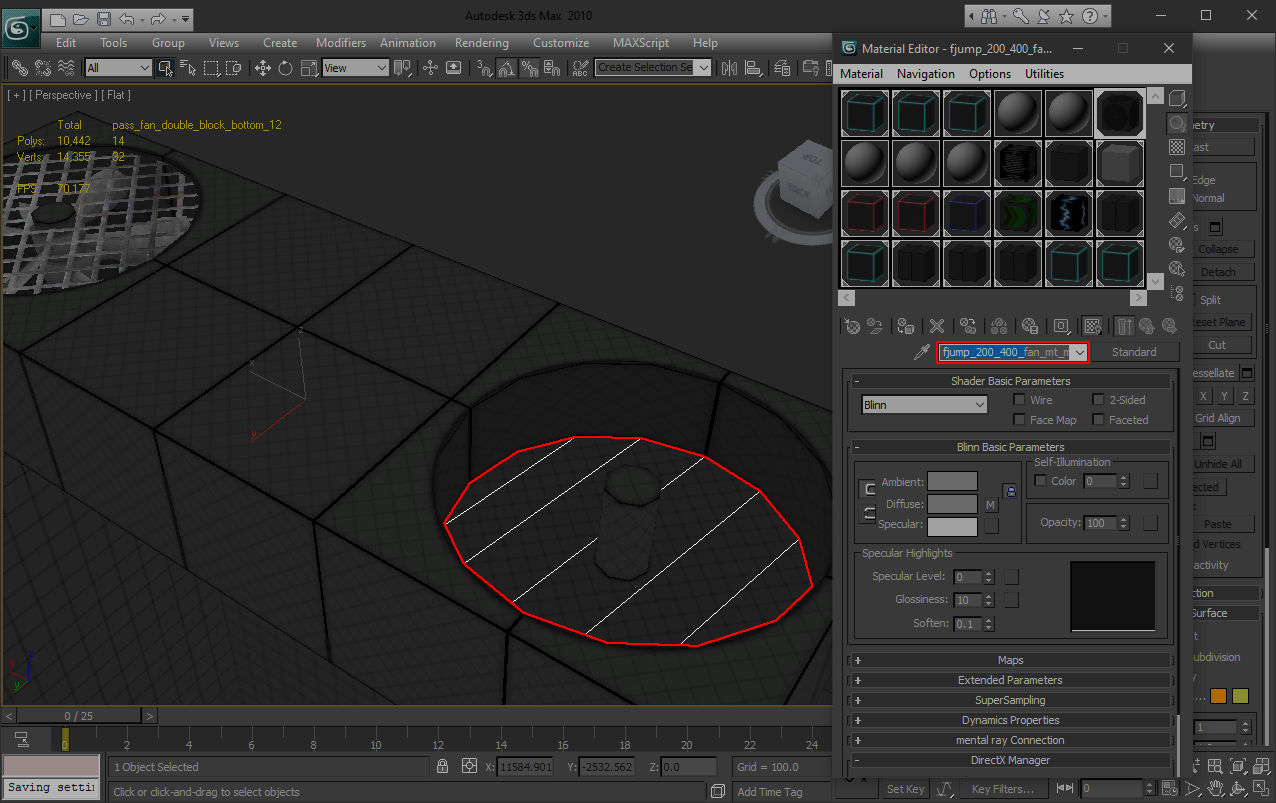
Forcing the player to jump / pushing the player up:
The prefix for this effect is "fjump_#_#_" followed by your regular material name.
The first # is for height, creating an area above the surface in which the player is affected by it.
The second # is for force, how strongly the player is flung upwards (values from 1 to 9999).
For example a material with the prefix can look like this "fjump_200_400_materialname", this creates an area 200 units tall in reach that flings the player up with a force of 400.
On the exhibition map this is how i make the fans "blow" (placing a spinning fan model for show) and fling the player upwards and climb to reach the top.
Changing the players movement speed:
The prefix for this effect is "fspeed_#_#_" followed by your regular material name.
The first # is for height, creating an area above the surface in which the player is affected by it.
The second # is the speed (in percent), values from -99 (slower) to 0 (default) to 9999 (faster).
For example a material with the prefix can look like this "fspeed_30_600_materialname", this creates an area 30 units tall in reach that increases player movement speed by 600 percent.
On the exhibition map i show this effect at the end with the relatively long walkway before the end looking like this:
Additional nerdy notes not covered above;
When you export your map (from 3ds max, also in gtkradiant if i remember correctly) the X axis gets flipped, meaning if you want to push someone to the right (positive X axis) you want to use a negative value and vice versa, Y axis is not affected by this - its only the X axis.
When a player stands on a surface with a transparent texture (doesnt matter how much or little transparent the texture is) the game ignores that surface and instead considers the player to be standing on the next closest surface below.
Thats how i created the little "dont jump" section on the exhibition map, the fire wall from below extends all the way up and just below the transparent grating texture segment, due to the way gunz's engine (realspace) is coded the player height coordinate is not super accurately tracked.
Meaning jumping on the grating thats (for sake of example) on z (height) 0 can result in the player z (height) be below 0 and thus clipping through it and touching the fire wall field below and killing the player despite technically still standing on the grating.
McSic is considering adding the features to a public gunz client like refined to enable people testing and fine tuning values of effects for their (new) custom maps for aspiring map makers.
He is also considering making the portal/teleport function found on the minecraft custom map (the nether portal, it does teleport you if you didnt knew) more accessible in this way to be used by map creators, currently its a hardcoded function by him.
If anyone has any additional questions feel free to post them.
Big kudos to McSic for changing and adding the necessary code to make this possible when i asked about it.


 Reply With Quote


